29 July 2018
Omg, dude, pretty perfect job, thx u so much

Blender can make mountains from heightmaps, and this is a tutorial to show you how. The heightmap I've used is represented by a grayscale bitmap. Black being the lowest point, white the highest. Blender is able to deform a mesh based on the pixel colour of a texture.
This tutorial is for Blender versions 2.5 through to 2.79b.
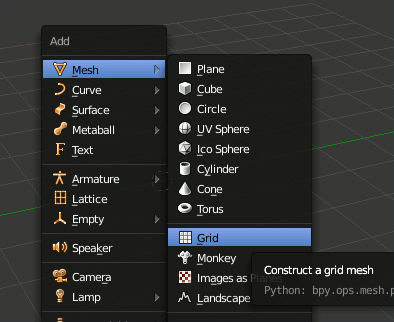
When Blender is first opened there is a cube in the middle of the screen. To delete this, Right Click  on the cube >> X >> ENTER.
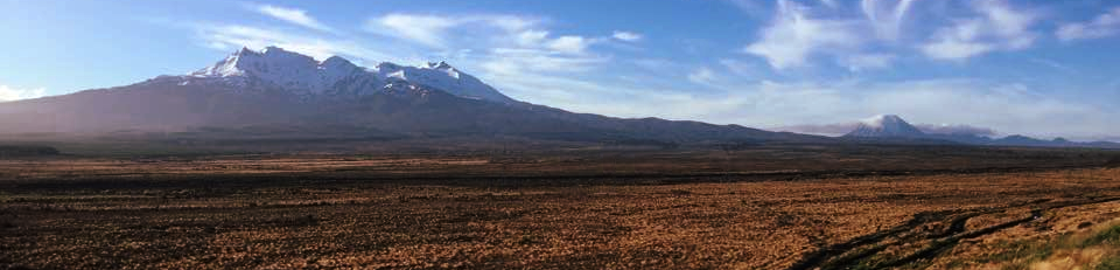
Looking at Mt Ruapehu past the Rangipo Desert from State Highway 1.
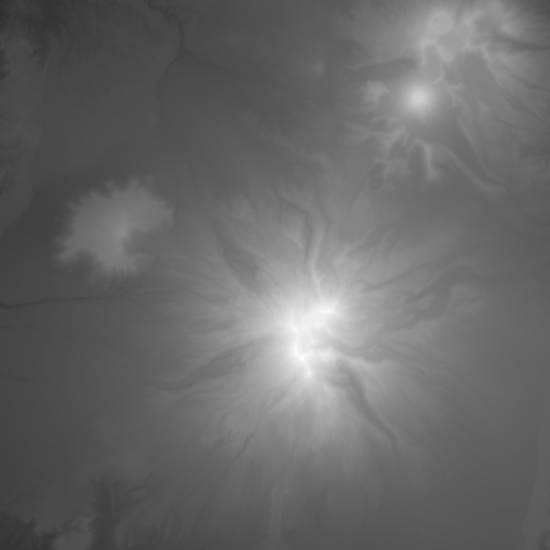
You will need a heightmap to work with. Download Mt Ruapehu and Mt Ngauruhoe Heightmap.png. These are two mountains found on a volcanic plateau in the North Island of New Zealand. You can make your own heightmaps by opening your favourite photo editor or painting program and using a grayscale palette to draw high areas in lighter shades and low areas with darker shades.
The heightmap was created by University of Otago - National School of Surveying who have published it at Koordinates, and is released under a Creative Commons Attribution-Share Alike 3.0 license.
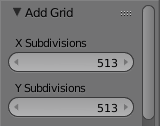
Add a mesh grid with 513 subdivisions by:-
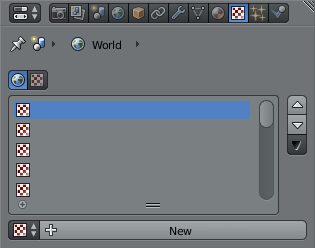
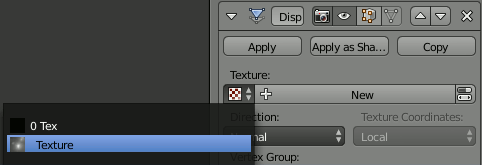
Click on the  Texture icon in the
  Properties viewport.
Click on the New button.

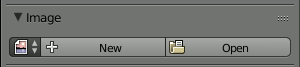
Click the Open button under Image and navigate your filesystem to find your heightmap.
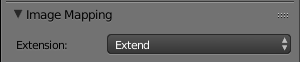
Scroll down and change the image mapping from Repeat to Extend. This will prevent artifacts occurring at the edge of the model.
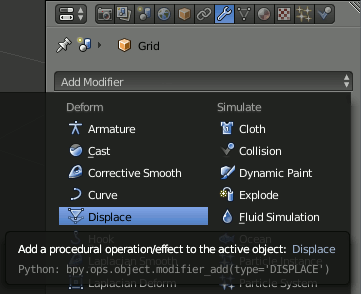
Click on the  Modifiers icon in the
  Properties viewport and add a
  Displace modifier.
Click on the modifier's texture icon and select the heightmap.
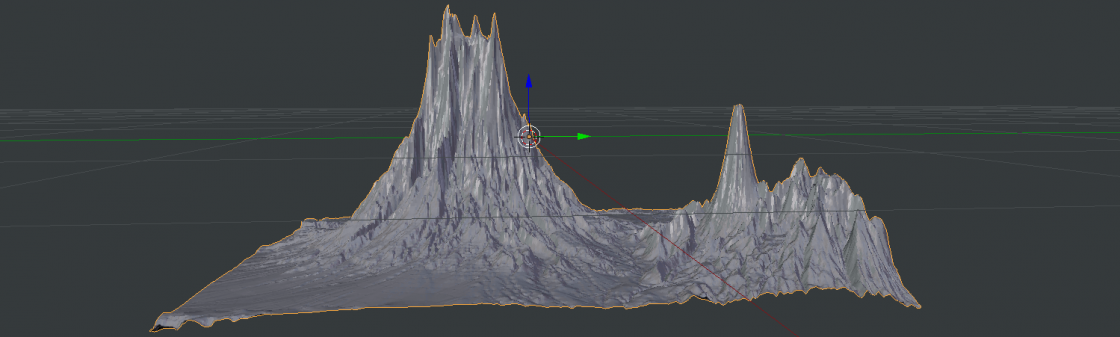
Initial displacement result.

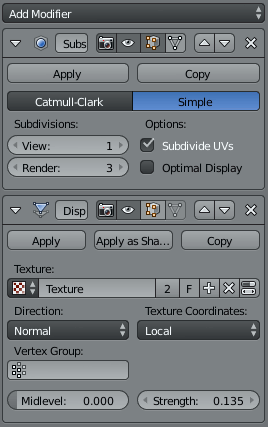
Change the Midlevel value to 0 and the Strength to .135.
Changing the midlevel moves the model up so the bottom is on the grid in the viewport. The strength corrects the height of the terrain. For other heightmaps a different strength value may be needed.
Below is proof of accuracy. The height of Mt Ruapehu is 2797m, Mt Ngauruhoe is 2287m, and the distance between them is 15,825m. A red box shows these distances below:-
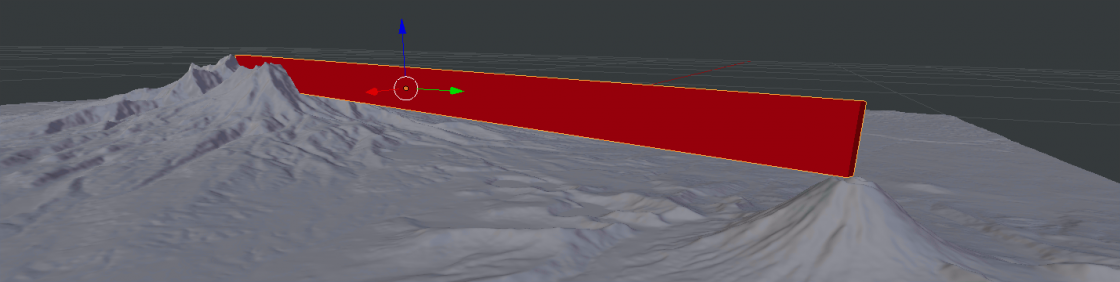
Proof of scale.
The model is coarse. We can bring out more detail by subdividing the mesh further. Subdivision can slow your computer so we will tell Blender to display a low level when working on the model and then change to high at render time.
Add the  Subdivision Surface modifier.
It will appear below the Displace modifier. We need to move it to the top of the stack so that it is applied first. Click the  up arrow button.
Change the subdivision method to Simple.

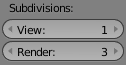
Change the level of subdivision for View. 3 is optimal, but if your computer becomes sluggish, or crashes, then leave it as 1. Render at 3.
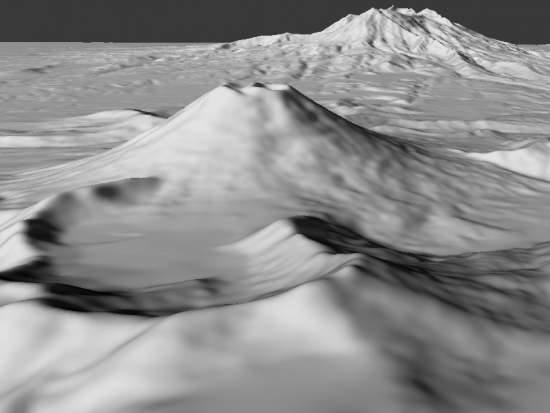
Closeup of the model.
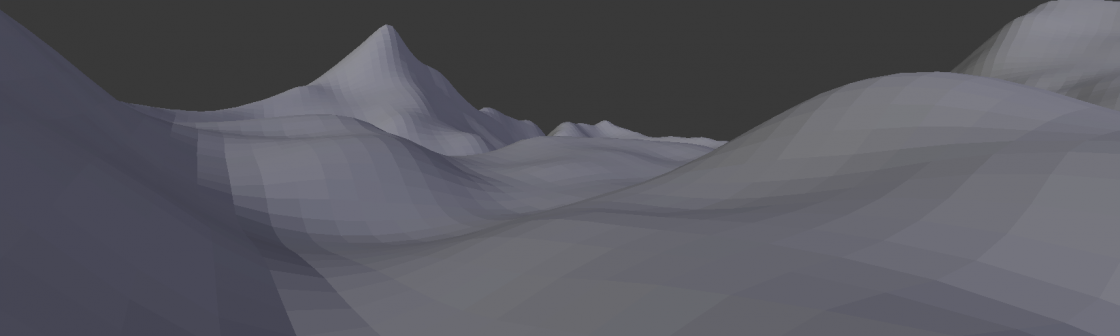
Looking closely at the terrain you will see it is made up of 'squares'. We can improve this by selecting the Smooth shader from the Toolshelf on the left of the window.
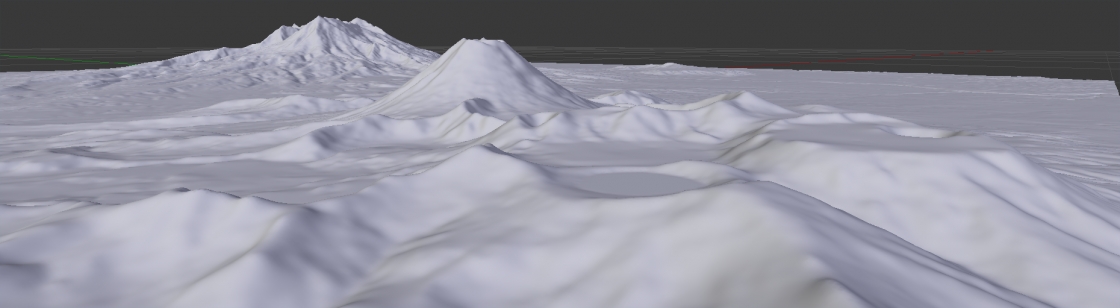
The smoothed model at the 3rd level of subdivision.
You’re welcome.
You're welcome.
You're welcome.
It'd be interesting to see your results, Paige.
Ian, yes it is possible to overlay Google satellite images. I'll keep this topic in mind for a future tutorial.
Andrew, send me a copy of your Crater Lake model, along with the satellite image.
Ensure the heightmap is included by  :-
:-

Olga, see my tutorial Export Terrain Contours from Blender Using Freestyle
The first part of the tutorial covers extruding and flattening:-

Stella,
The strength of displacement  was arrived at by trial and error. I noted the height of two mountain peaks and the distance between them and created a box of that size:-

The heightmap is 2048 pixels square. My computer is too slow to handle 2049 subdivisions (2048+1). So 513 is a quarter of 2048 pixels + 1... I'm open to my arithmetic being wrong.
I hope you're able to create something useful from my tutorial.
Dang,
I'll keep your request in mind for a future tutorial. In the meantime adapting my tutorial on Colour by Altitude would create a height map. You'd need to rotate your model so that the desired plane is parallel to the XY plane.
http://johnflower.org/tutorial/colour-altitude
You'd end up with a node setup as below (follow tutorial to achieve this):-

It'll be a matter of adjusting the displacement strength by the Z height of the source object.
David, can you email the file you're trying to render?
Craig, can you email me your source file?
Add a remark