Create Text for Subsurface Laser Engraving
Category
Last modified

Layered and arrayed text.
Text that is extruded and arrayed looks sharper when subsurface laser engraved than text that is in layers. This is because extruding the text creates faces that are in line with the viewers eye. These fill with engraved points that make the edges appear crisp. This tutorial shows how to create this effect using Blender.
Add Text
SHIFT A >> T
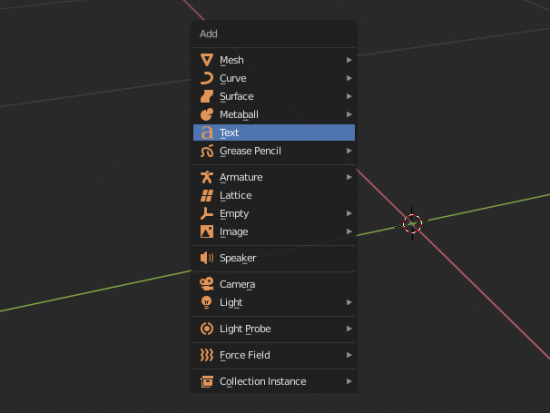
The menu for adding text.
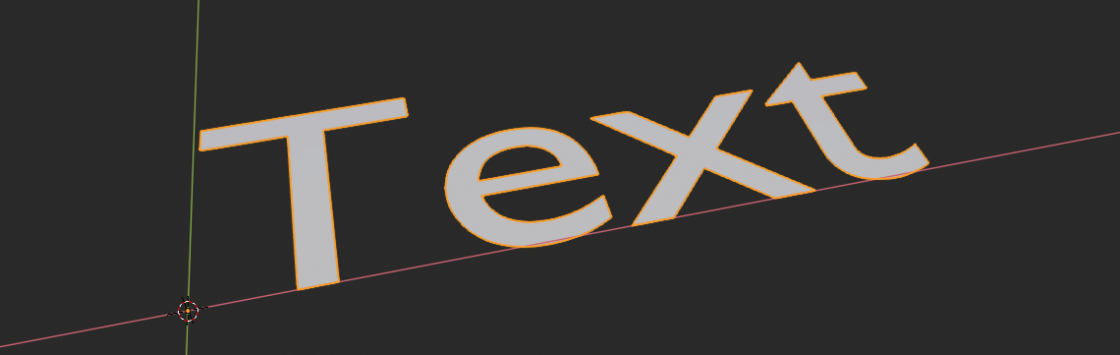
2d text.
Extrude the Text
Select the text tab from the Properties Panel  and extrude it. Experiment with the distance for best results.

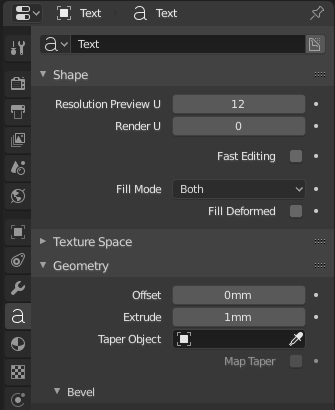
Text panel showing where to find the extrude function.
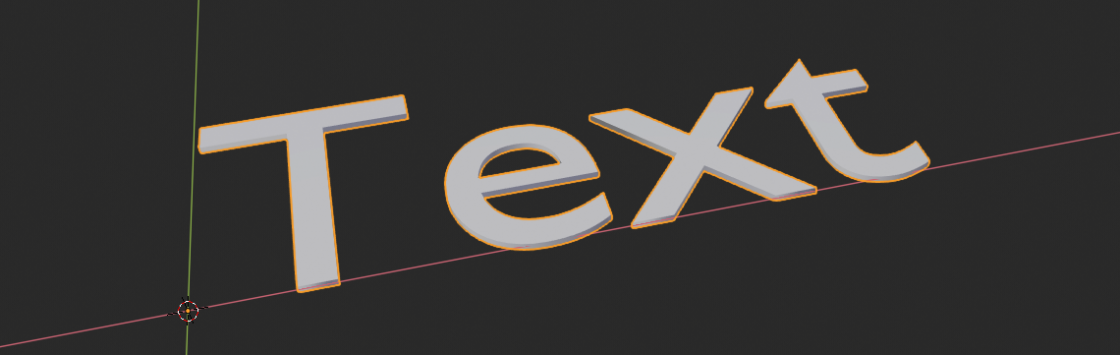
Extruded text.
Array the Text
Go to the Properties Panel

and select the Modifiers tab  and add an Array Modifier

adjust the count to 5

Change the relative offset so that it is 1 on the Z axis

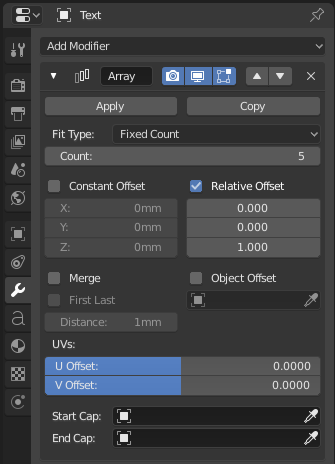
The Modifier panel with an Array Modifier set up.
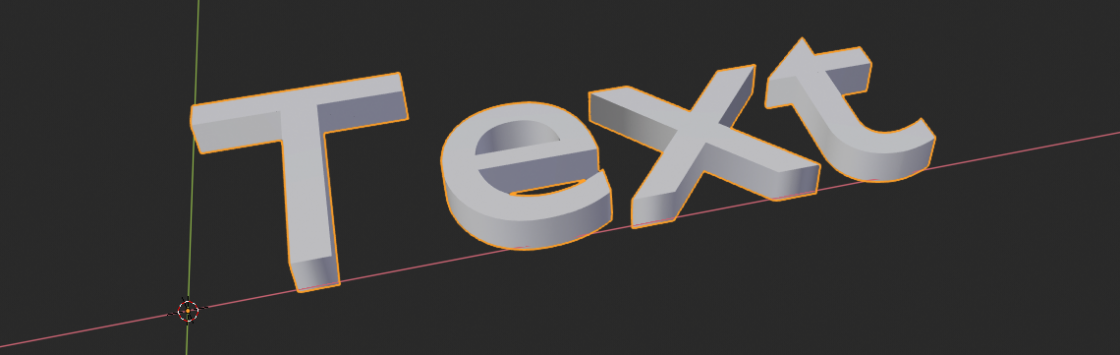
Arrayed text.
Add a remark