Colour by Altitude
Category
Last modified
16 February 2019

Untextured Stewart Island ready for the addition of colour.
Introduction
This tutorial will show you how to assign colour to a model based on altitude.
Setup Blender for Procedural Colouring of Terrain
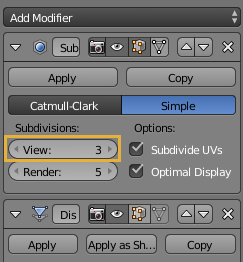
We'll be creating nodes to find the altitude and then assign colour. Download 01 Start - Stewart Island.blend which contains an island to colourize. The UI has been changed a little to show the Node Editor. Increase the quality of the model if you wish by increasing the level of Subdivisions:-
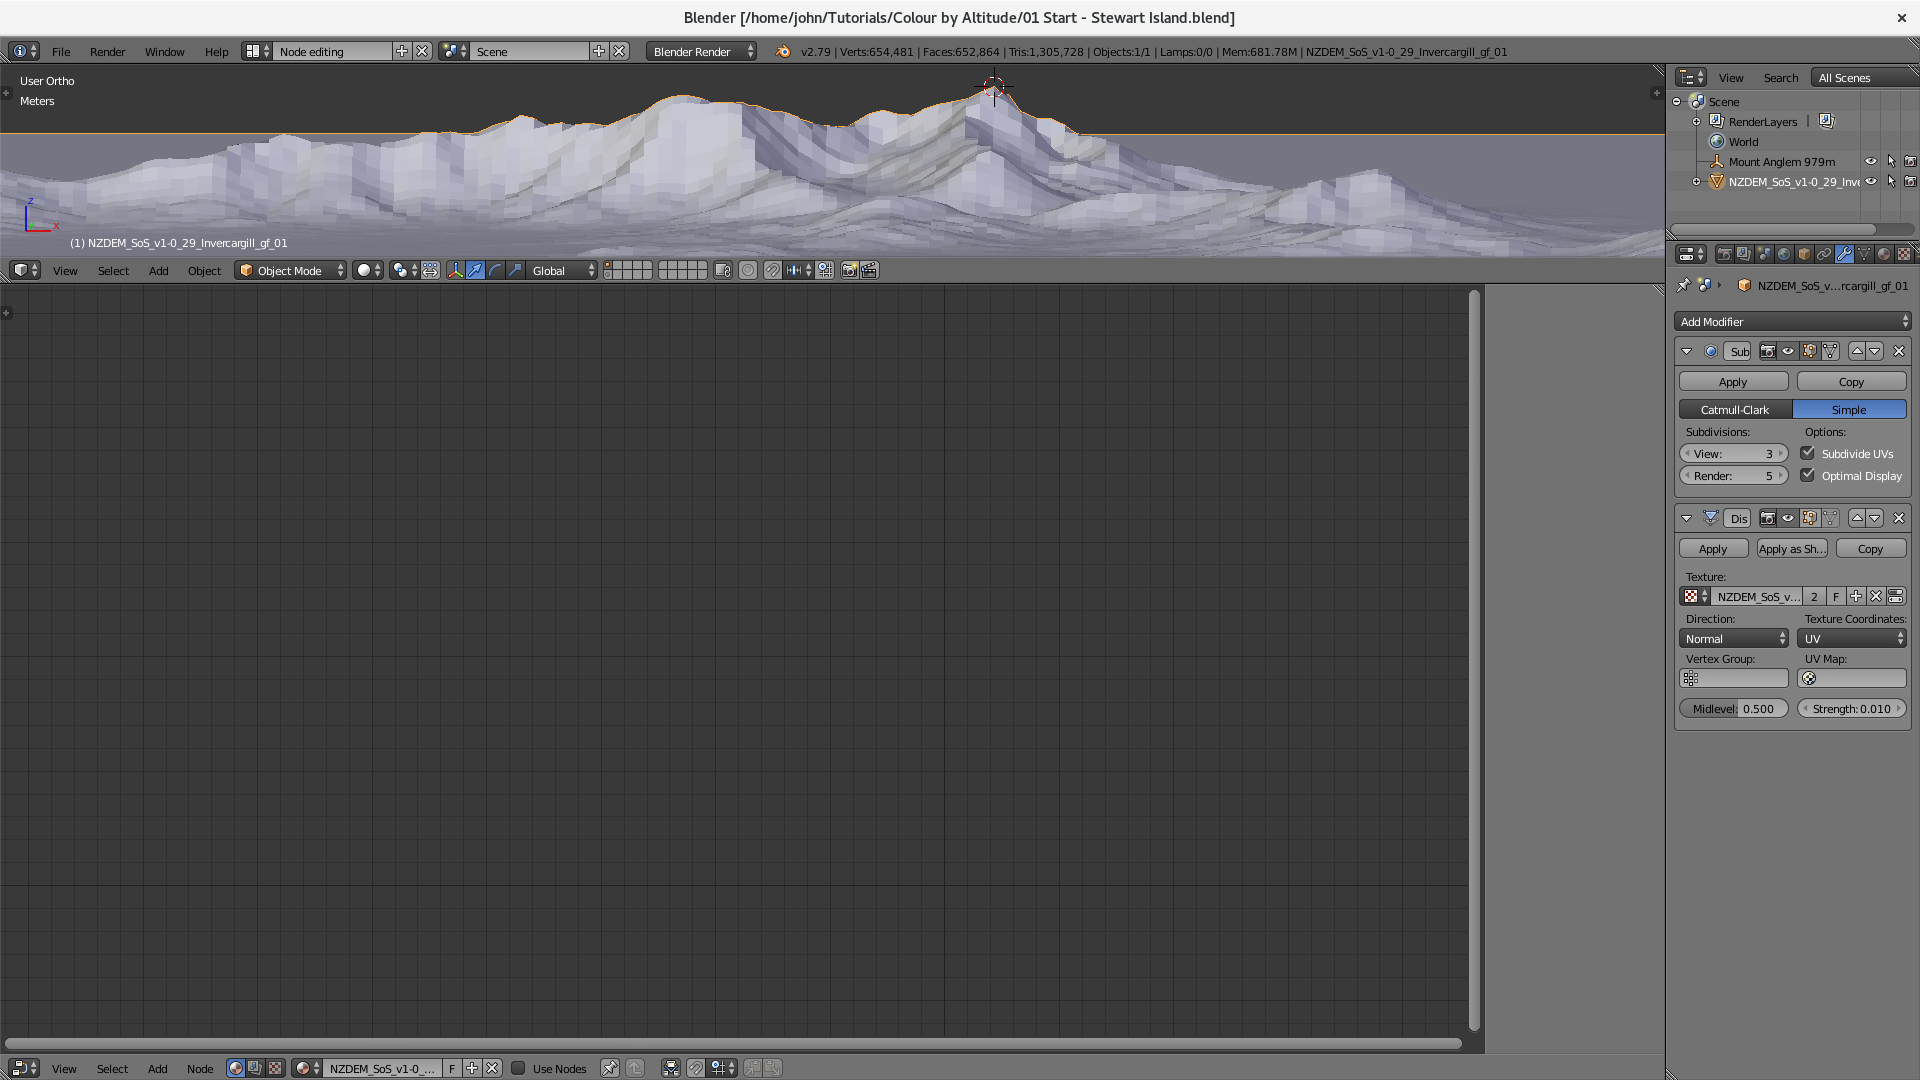
Blender UI setup for procedural colouring of terrain.
01 Change render engine from Blender to Cycles:-

02 Check Use Nodes box:-
Initial nodes.
Add new nodes
03 We need to ask Blender for the position of the model, extract the Z height range, and assign a colour gradient over that range. We will create three nodes and link them to the Diffuse BSDF node:-
Geometry - Separate XYZ - ColorRamp - Diffuse BSDF - Material Output
- Add >> Input >> Geometry
SHIFT A ... I ... G
LMB on the left of the screen to place node.
- Add >> Convertor >> Separate XYZ
SHIFT A ... N ... P
Place this node to next to the first.
- LMB DRAG a connector from Position to Vector.

- Add >> Convertor >> ColorRamp
SHIFT A ... N ... C
Place this node next to the second.
- LMB DRAG a connector from the Z to the Fac.

- LMB DRAG a connector from Color to Color.

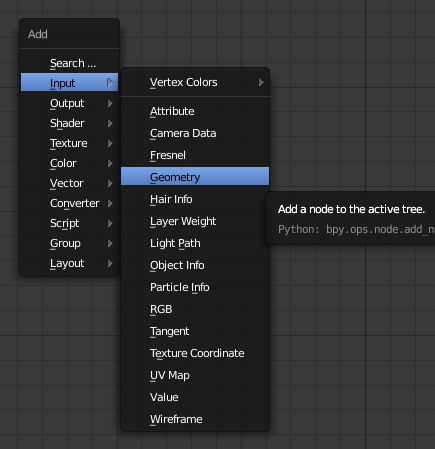
SHIFT A brings up a menu to add nodes.
Change to Cycles, Add nodes, and add nodes Geometry - Separate XYZ - ColorRamp to Diffuse BSDF - Material Output

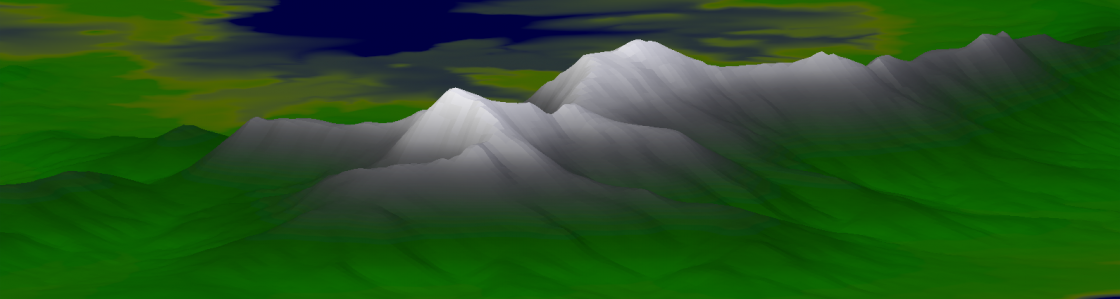
Stewart Island with the ColorRamp as applied above.
Add Colours to the Colour Ramp
Click the  button to add in as many colour stops as you desire. Select a colour by clicking on the
 ![]() button and adjust by clicking on the colour box:-
button and adjust by clicking on the colour box:-

You can copy colours by moving the mouse pointer over the colour box and pressing CTRL C and then change to the next stop and paste the colour with CTRL V.
Do this for each colour. You can adjust the stops by LMB dragging the ![]() . For greater precision use the position field:-
. For greater precision use the position field:-
 and cycle through the stops using
In this model the sea and beach may look nice if they're quite close together. E.g.:-
![]()


Stewart Island colourized.
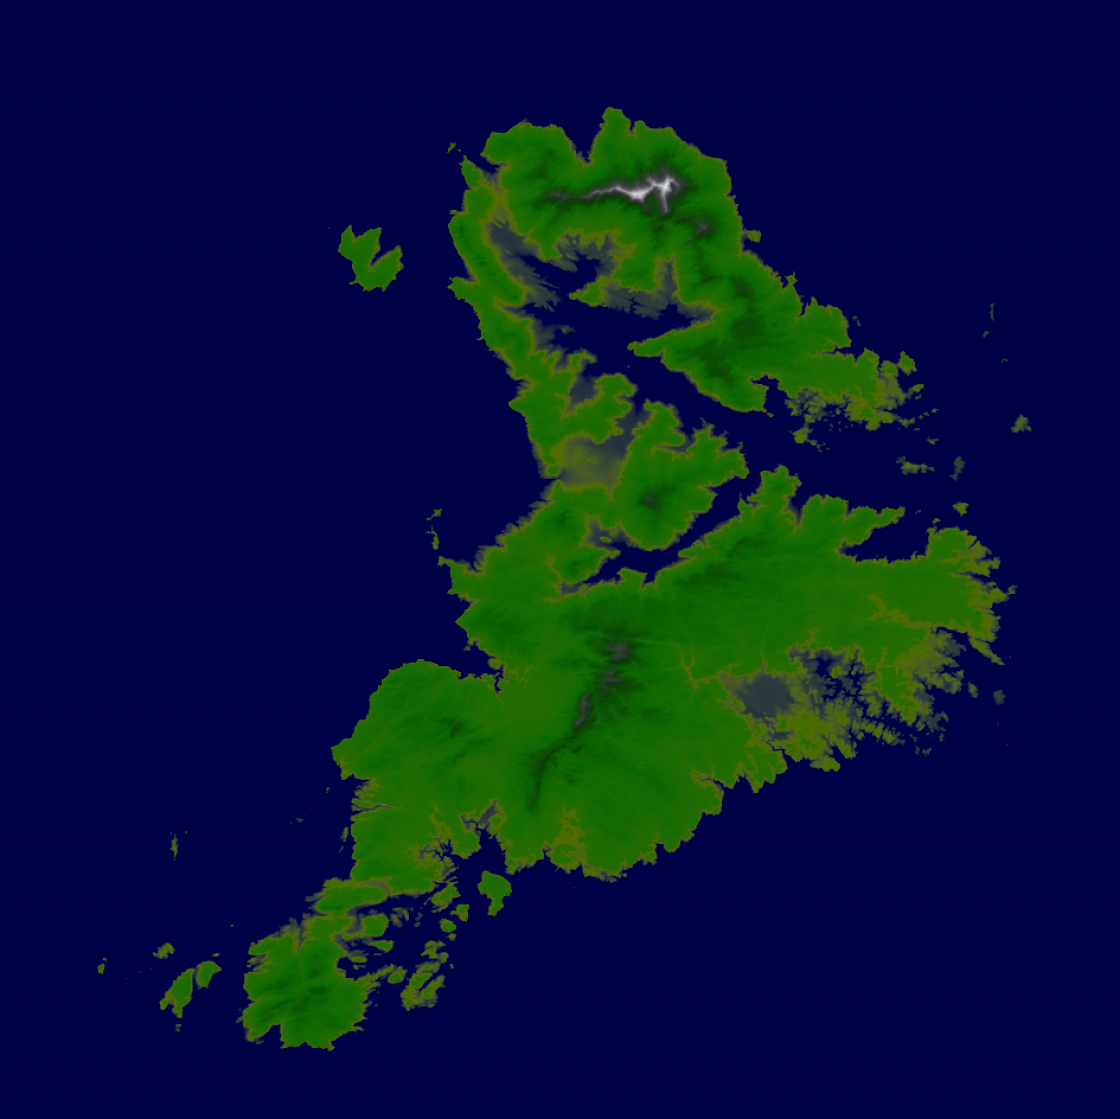
Stewart Island from above.
Files
- 01 Start - Stewart Island.blend
This is the file to start this tutorial with. - 04 Colour Ramp.blend
This file is the end result of following this tutorial - NZDEM_SoS_v1-0_29_Invercargill_gf.png
Sourced from University of Otago who have released it under Creative Commons Attribution-Share Alike 3.0
Related Tutorials
Make Mountains in Blender from Heightmaps
Finding Heightmaps on the Web
Files
Discussion
31 December 2021
The link to download the starting model "01 Start - ..." seems to be broken. I followed the steps in your other tutorial "Make Mountains..." to reach the first step, in the Displace Modifier I've set Midlevel=0.5 and Strength=0.01, and I haven't put the Smooth modifier. However, I don't find the menu tab where you arrange the nodes.
21 December 2022
How do you do the same when you have bathymetry in addition to topography please? Sorry I'm new to Blender
John Flower
15 January 2023
Hi Max, this tutorial will work to show water depth as well. This will rely on you having a model that shows all the geography, not just that which is above the water. Simply choose shades of blue that are pleasing to you.
Add a remark