Export Heightmaps from QGIS by Print Layout
Last modified
Introduction
To get the highest quality heightmaps from QGIS we use the Print Layout function. This tutorial builds on the heightmap refinements taught in Export Heightmaps from QGIS by Screenshot.
Method
 Zoom in on the desired area
 Create a new layout
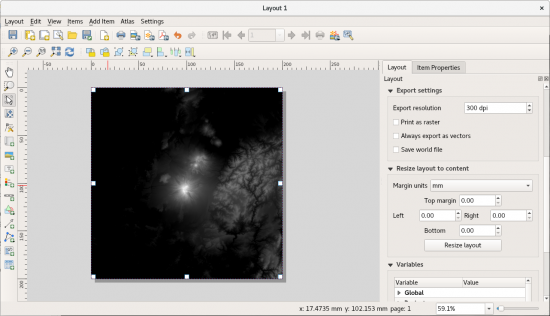
 Add a new map to layout. Move the mouse pointer over the page and click and drag to place the map
 Adjustments can be made by clicking on the map and dragging. The mousewheel can adjust the zoom. CTRL mousewheel will make finer adjustments.
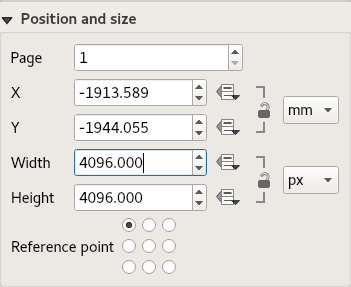
Go to the Item Properties Tab

Change the Width and Height unit to px. Then enter the desired width and height. Use square dimensions.
If you intend to use the exported image as a texture to be rendered then Power of Two dimensions are preferred, 1024x1024, 2048x2048, 4096x4096 etc.
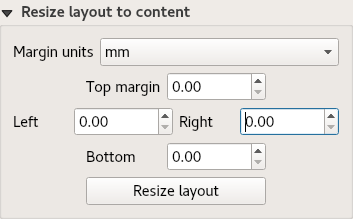
Go to the Layout Tab

Click Resize Layout

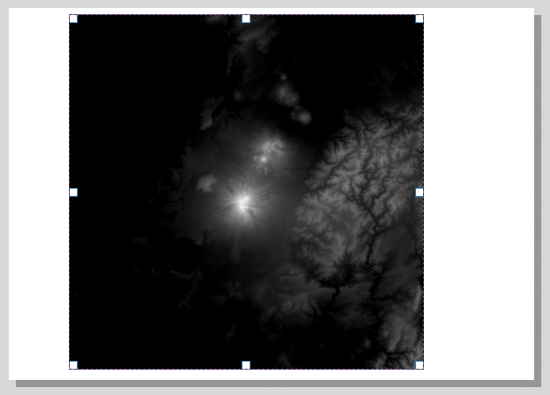
This will make the page match the dimensions of the map.
 Export as Image
Thoughts...
I haven't found a way to determine the best dimensions for exporting a heightmap. Trial and error is the method I use.
Going further
Make Mountains in Blender from Heightmaps
These exported heightmaps can then be used to create 3d models. You can do this with any good 3d modelling software. I do this using, the free software, Blender.
Add a remark